
15 - Wildcard Week
CNC Embroidering
In contrast to other weeks, the assignment for this week is not exactly precise. The fabrication process we have learned so far are the core. However, there are many more which can be explored in this week. Everybody can choose whatever they want as their individual assignment as long as it meets the requirements. These are:
- Design and produce something with a digital process (incorporating computer-aided design and manufacturing) not covered in another assignment, documenting the requirements that your assignment meets, and including everything necessary to reproduce it.
Already before starting FabAcademy, I knew what I would do in this week, namely CNC embroidering. Here, CNC stands for computer numerical control meaning it is a digital manufacturing process. Therefore, I firstly modelled the desired design in 2D and then started the embroidery. Here, I would like to thank Roland for teaching me on how to use the embroidery machine not in the FabLab but in another machine space at the second campus of our university (Hochschule Rhein-Waal) in Kleve.
2D Design in Inkscape
For the 2D design, I used the software Inkscape which I was already very familiar with and even further explored in the CAD assignment.
Preparing Inkscape
In order to use Inkscape with the embroidery machine, an extension has to be installed, namely Ink/Stitch. Here, I downloaded and executed a file which opened the setup wizard to install the extension. After it was successfully installed, I simply opened Inkscape and was able to find the extension under Extensions > Ink/Stitch.
2D Modelling
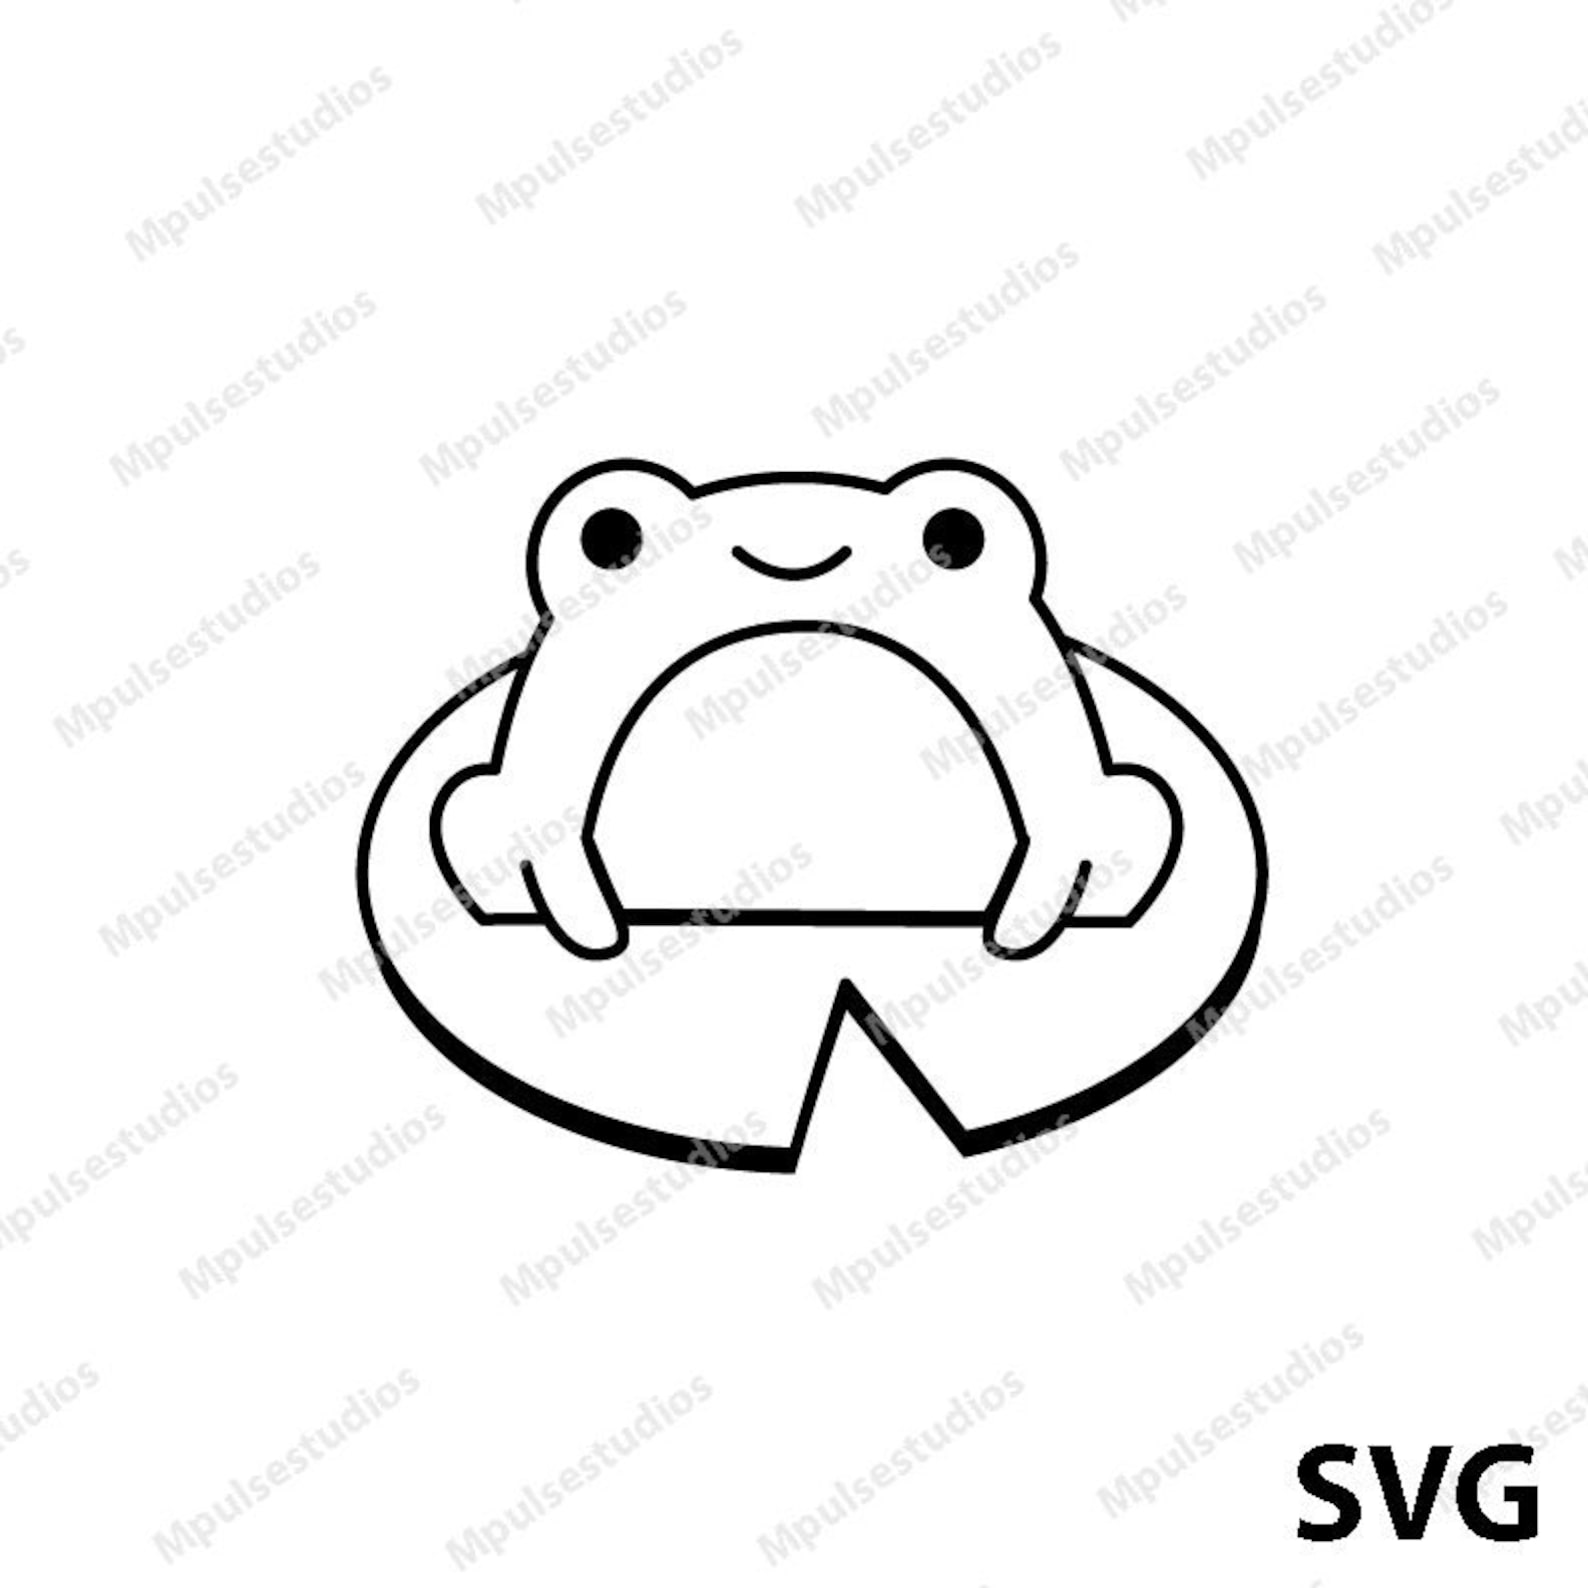
Next, I continued with the actual 2D modelling of the desired design. Here, I did not exactly know what I wanted to do but I planned on staying within the frog-theme that has evolved during the assignments. Therefore, I simple googled "cute frog silhouette" and found this image of a cute little froggo.
I simply copied and pasted this picture into Inkscape where I converted the raster image into vector graphics by using the tool Path > Trace Bitmap with the a brightness cutoff and a threshold of 0.85. Lastly, I scaled the resulting paths to a height of 30.0 mm which resulted in a width of 38.2 mm due to the constant aspect ratio. With this, I obtained a vector graphic as shown in the image.

Design to Embroider
The Ink/Stitch Extension
Next, the Inkscape extension comes into play as with it the embroidery can be visualized. For this, I clicked
on
A similar window is opened when adjusting the settings by clicking on Extensions > Inks/Stitch > Params. This opens two windows, one on the left with the parameters and one on the right called "Preview" where the embroidery is simulated.

Ink/Stitch Default Parameters With Fill Pattern: Auto Fill (Guided Fill)
The left side allows for may different settings. The "Fill method" or the stitching patter for infill of objects however might be the one that results in the most significant differences. From the default fill method, called "Auto Fill" I obtained the same stitch pattern as for the "Guided Fill". There are however many more as displayed below.

Fill Pattern: Contour Fill

Fill Pattern: Meander Fill

Fill Pattern: Circular Fill

Fill Pattern: Legacy Fill
In addition to the fill method, also many other parameters are possible. By hovering with the mouse over the name of the parameter if can be investigated what they mean. This was quite helpful as I am not that familiar with stitching/embroidery and do not know right away what the parameters mean.
As in my design there are only objects with a filling and no paths, I am not presented with any settings for paths and their stitching pattern. However, by adding a path manually, another tab is available in the left parameter window. The available settings are shown in the image.

Stroke Parameters
However, I was actually really happy with the default settings and therefore, I simply exported the design with the .dst file format onto an external flash drive. This file format is only available with the Ink/Stitch extension.
CNC Embroidering
Again, I had no direct use for embroidering but I was thinking of just decorating a jute bag I carry around for my daily food. Right now, it is plain but could use some personalization. Also, I was told, only stiff and barely stretchable textiles are better and embroidering works properly. Therefore, I selected this as the material to embroider the design onto.
To embroider the frog design onto the jute bag, I firstly had to setup the machine properly, then tested the process on a spare jute bag and finally embroidered the design onto the right cute bag.
Setup of the Machine
Before setting up the machine, I watched a tutorial on how to use the embroidery machine W6 N 5000 that I intended to use. After that, I checked whether the upper and lower threads were inserted correctly and then turned on the machine. With this, the two screens of the machine lit up, one for the sewing machine (top one) and one for the embroidery table (bottom one). On the first one, the thread tension can be adjusted while the second one is for basically everything else. in the beginning, the bottom screen asks for confirmation that the drop feed lever is in the correct position which I confirmed.

Embroidery Machine: W6 N 5000
Next, the machine needs to home which is done after confirming again on the screen that nothing is in the way and homing can happen. After this, the machine can be used. Here, I firstly plugged in the flash drive and selected the USB on the main screen. This opened a dialog showing the files on the flash drive, where I selected the right .dst file and confirmed my selection with the OK button on the right of the display.
Next, I selected the right frame size where the textile will be positioned with, i.e. "13 cm x 20 cm". After this, the user is presented with three options, namely front, back and center. This does not correspond to the position of the design on the frame but with the position where the color change of the thread should take place. As for me, no color change was necessary, I selected center. With confirming this, the screen shows the frame and its content, i.e. the design, on the left half and multiple options on the right. Here, e.g. the bottom right is for mirroring the design and/or changing the position of the design on the frame. Please note that the buttons for moving the design have to be pressed continuously in order to adjust the table's position.

Display to Select File from USB

Display for Settings
For the first embroidery I left all settings at the default meaning the design is embroidered in the middle of the frame. Then, I positioned the fabric between the two parts of the frame with as much tension as I was able to get and attached the frame to the embroidery table. Here, I did not use the actual jute bag but a different, spare one. Then, I was able to start the embroidery process. For this, I pressed the OK button next to the display. Subsequently, the machine asks the user to lower the presser foot lever. After having done this, the button with an arrow pointing upwards, i.e. the start/stop button, turned from red to green. Upon pressing this button, the embroidery is started.

Screen Showing to Lower the Presser Foot Lever

Lever is Up and Button Red

Lever is Down and Button Green
Testing the Embroidering Process
Once the embroidery process was started, it can be paused with the start/stop button. During embroidering, the speed of the process can be adjusted with a slider as well as the thread tension on the screen of the sewing machine with the plus and minus button. For the first embroidery, I went with an estimated speed of about 160 stitches per minute. And a thread tension of 6.
Embroidery Process
However, during the process, the fabric unfortunately loosened a bit on the frame such that a fold appeared which moved parts of the design to the wrong position. Hence, I repositioned the design on the frame such that it was at the front and closer to the frame and restarted it. I furthermore lowered the speed to about 80 stitches per minute. In total, this resulted in a better embroidery.
After the process was finished, I cut the threads that connect aspects of the design, that are not connected to each other. However, I only did this for the second attempt and therefore, the photo of the first attempt below shows a lot of messy threads.

First Attempt: Failed on the Right Side Due to a Shift

Second Attempt: Good Result
The Final Result
As I was happy with the result of the second attempt, I repeated this process for the actual jute bag with a small exception. Instead of repositioning the design only, I also rotated it counter-clockwise by 90 degrees. This was due to the positioning of the textile on the frame. As here, only one sheet of textile is required, the opening of the bag had to be on the left side where the frame is attached to the embroidery table. Therefore, I had to adapt the design.

Shifted and Rotated Design

Embroidering on the Final Jute Bag
After the embroidery was done, I took the jute bag off the frame. In general, I am more or less happy with the result even though the previous attempt appeared slightly better. This might be due to the properties of the textile as the one from the actual jute bag was finer ans maybe not so strong.

Close-Up of the Embroidery

The Jute Bag and the Embroidery
Design Files for Download
- Cute Frog Design (.svg): Vector graphic of the cute frog designed in Inkscape